Step by step of how to create a seasonal halloween floral design.
2015-10-29 16:30:40 – Posted by Ella
With just a few days to go until Halloween, our floral pumpkins are flying out of the door! Therefore, we decided to give you an insight in to how to make one for yourself to put on your table or by your door this weekend.
Halloween – the night of 31 October, the eve of All Saints’ Day, often celebrated by children dressing up in frightening masks and costumes. Halloween is thought to be associated with the Celtic festival Samhain, when ghosts and spirits were believed to be abroad.
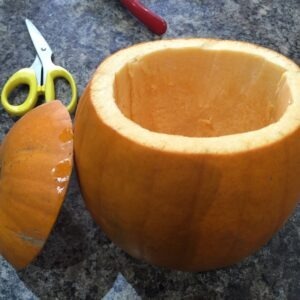
First, slice the lid off of the pumpkin and scoop out the seeds inside (you can dry the seeds to eat, follow the recipe below. Place on a paper towel and pat the seedsfairly dry (they do not have to be completelydry!). Brush about 1 tablespoon olive oil in the bottom of a cookie/baking sheet. Spread out the seeds onto the cookie/baking sheet in one layer. Bake for about 20 minutes or until theseeds begin to brown). Ensure that you leave at least 1.5cm thickness of flesh inside the pumpkinbefore adding the oasis inside to prevent the pumpkin from breaking down.

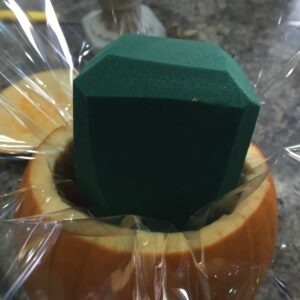
Next, soak a third of a block of oasis in cold water and cut a square piece of clear cellophane and line it inside of the pumpkin and put the oasis inside. Slice the edges of the oasis with a sharp knife, this will give you more of a surface area to work with. Push the excess cellophane down the sides of the pumpkin to stop the oasis from moving about inside of the pumpkin.

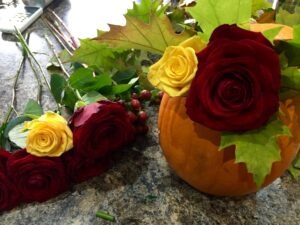
For the next step, select the seasonal flowers that you would like to put in the design. Lie them out in their flower types so you know what you have to work with, I would advise incorporating Autumnal colours/flowers such as Red, Orange and Yellow Roses, Hypericum Berries, Oak Leaves, bright Dahlias, Carmathus, any seasonal foliages or berries. After this step is complete, to create the lid of the pumpkin, have three thick wires, each to be approximately 6cm in length and position the wire in the lid of the pumpkin and in the side of the base of the pumpkins flesh so it is on a 45 degree angle.


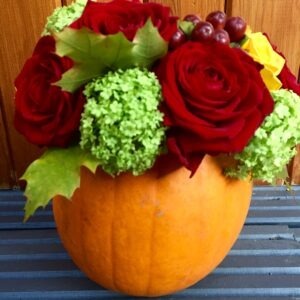
When you have the lid in place, start to add in the flowers, ensure that the stems are cut at an angle to absorb as much water as possible and make sure that they are in the oasis approximately 2-3cm deep. Position them all the way round the pumpkin and ensure that none of the mechanics, (oasis and wire) are not visible.


TADAH! Your seasonal floral pumpkin is now ready to display proudly on your kitchen table! Happy Halloween everyone!


